Getting Started 2

- Details
- Parent Category: Simple Sit
- Created on Sunday, 07 February 2010 09:18
- Last Updated on Wednesday, 11 September 2013 14:40
- Published on Sunday, 07 February 2010 09:18
- Written by sandrine
- Hits: 1409
For this second tutorial we process for 2 avatars and many animations
Stage setup (need 2 avatars)
1. Create a box on the floor and enlarged it a bit to sleep two avatars. This will be our bed.
2. Open the box, yet it is empty
3. Drag from your inventory the following animations :
Ground_Kiss_F
Ground_Kiss_M
Laying_Arm_Across_F
Laying_Arm_Across_M
Laying_Makeout_F
Laying_Makeout_M
Laying_Neck_Kiss_F
Laying_Neck_Kiss_M
Laying_Pinned_Kiss_F
Laying_Pinned_Kiss_M
Laying_Propped_Arm_F
Laying_Propped_Arm_M
Laying_Side_F
Laying_Side_M
Laying_Spoon_F
Laying_Spoon_M
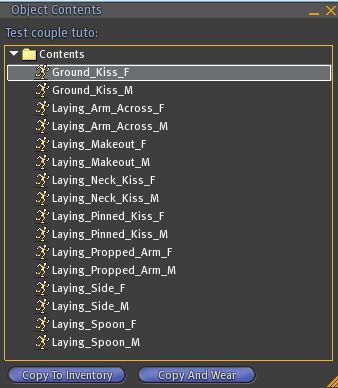
4. Drag a script setup
5. Drag the setball object: a ball is created on top of the box
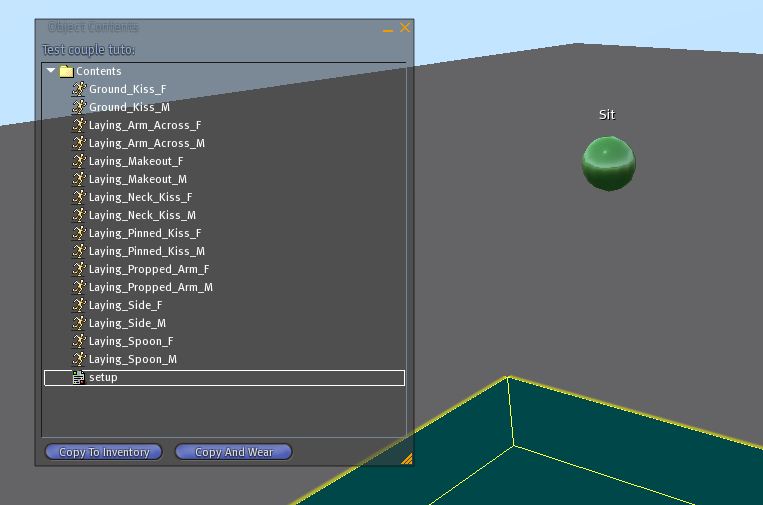
6. An avatar (a nice one if possible) clicks on the ball : it is now seated and the ball deforms to be more accessible
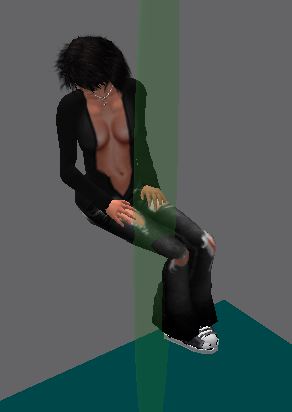
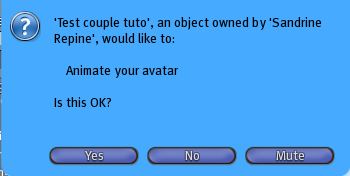
7. The avatar accepts authorization animation
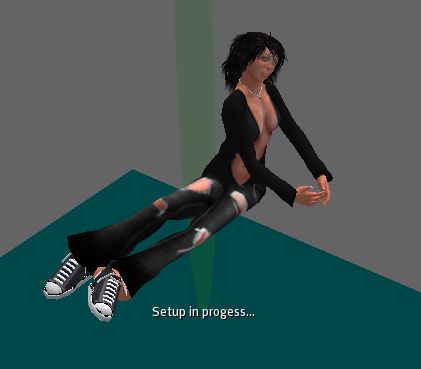
the first animation is in action
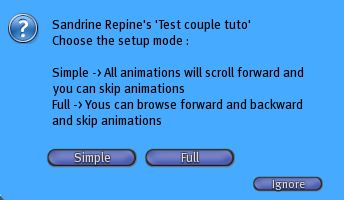
8. select "Full" in the menu
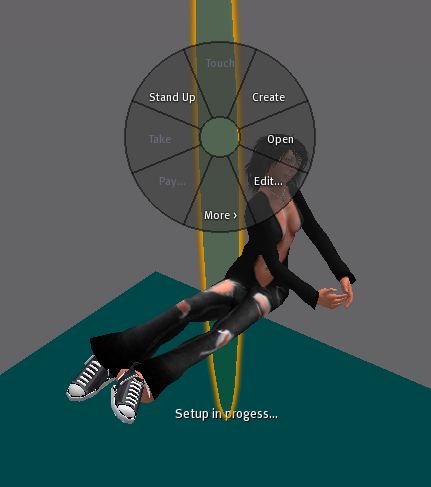
9. Right click on the ball and switch to edit mode
10. Adjust position and rotation
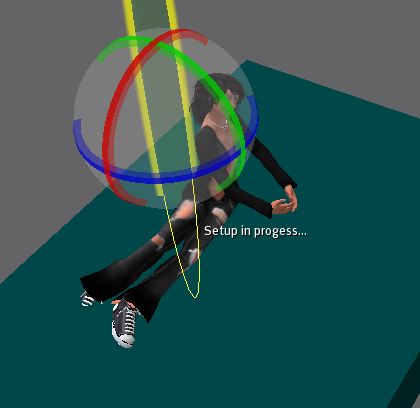
11. Drag a second script setup in the inventory
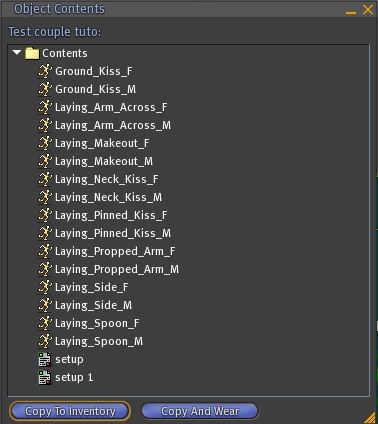
12. Drag a setball object : a second ball is created on top of the box
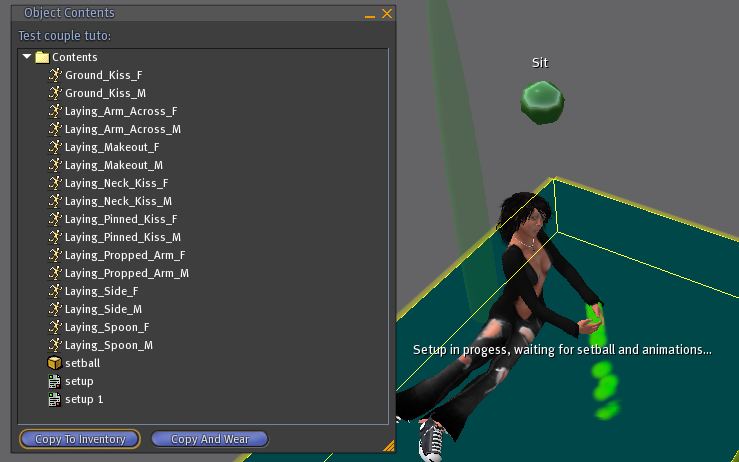
13. Closethe content window
14. A second avatar clicks on the ball : he is now seated and the ball deforms to be more accessible
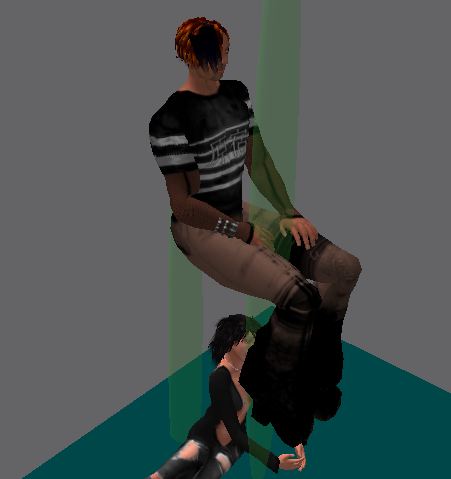
15. He accepts avatar animation
16. Select the button "full" in the dialog box.
17. Changes the pose with the "Next" button to change for pose Ground_Kiss_M
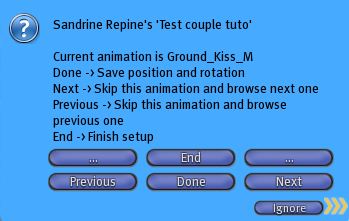
18 Right click on the ball and switch to edit mode
19. Adjust position and rotation to align with the first avatar. Repeat if necessary adjustment of the first avatar.
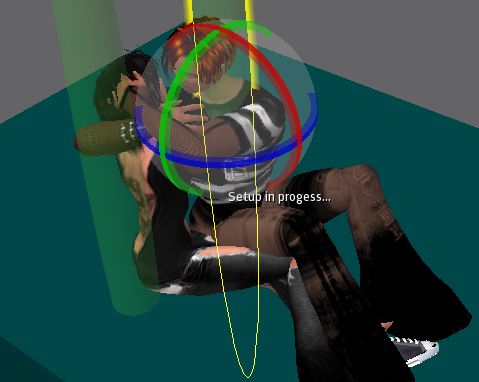
20. When the two avatars are well positioned click "done" to each dialog box. Now the 2 settings are saved. There is an indication *** already ajusted *** in the dialog box :
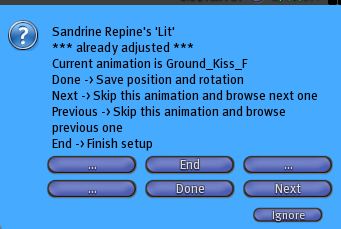
21. Do the same way with other animations in groups of two :
Laying_Arm_Across_F
Laying_Arm_Across_M
Laying_Makeout_F
Laying_Makeout_M
Laying_Neck_Kiss_F
Laying_Neck_Kiss_M
Laying_Pinned_Kiss_F
Laying_Pinned_Kiss_M
Laying_Propped_Arm_F
Laying_Propped_Arm_M
Laying_Side_F
Laying_Side_M
Laying_Spoon_F
Laying_Spoon_M
You can browse animations with buttons "Back" and "Next".
23. When all animations have been adjusted click "end" in first avatar dialog box : the ball disappears and the avatar is ejected.
24. Click the button "Go to page" in the dialog box to open the webpage
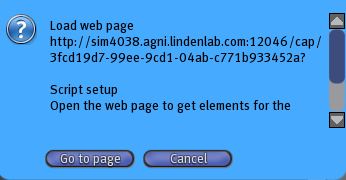
25. in web page select the setup information and copy to clipboard (CTRL C or menu). Here is an example of setup but yours must be different :
Ground_Kiss_F @ -57,22,100 @ 0,0, -84
Laying_Arm_Across_F @ -57,22,100 @ 0,0, -84
Laying_Makeout_F @ -57,22,100 @ 0,0, -84
Laying_Neck_Kiss_F @ -57,22,100 @ 0,0, -84
Laying_Pinned_Kiss_F @ -64,12,100 @ 0,0, -88
Laying_Propped_Arm_F @ -64,23,100 @ 0,0, -93
Laying_Side_F @ -64,23,100 @ 0,0, -93
Laying_Spoon_F @ -64,23,103 @ 0,0, -93
26. in your inventory create a new notecard and call that note setupmultisit, open the notecard and paste setup information that you have in your clipboard
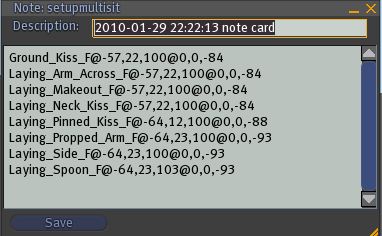
27. Save the notecard setupmultisit you just created and drag it in the inventory of the box
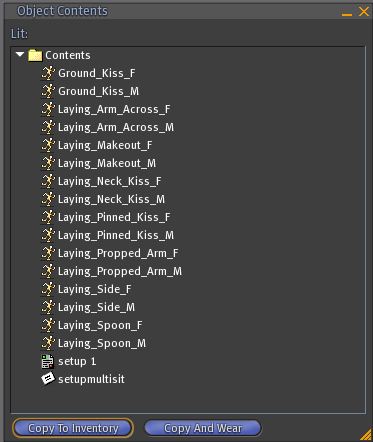
28. Click on button "end" of the second dialog box avatar : the ball disappears and the avatar is ejected
29. Click the button "Go to page" in the dialog box to open the webpage
30. in web page select the setup information and copy to clipboard (CTRL C or menu). Here is an example of setup but yours must be different :
Ground_Kiss_M @ -5,27,97 @ 0,0, -98
Laying_Arm_Across_M @ -5,27,97 @ 0,0, -98
Laying_Makeout_M @ 0,21,101 @ 0.0, -98
Laying_Neck_Kiss_M @ 0,21,101 @ 0.0, -98
Laying_Pinned_Kiss_M @ 0,21,101 @ 0.0, -98
Laying_Propped_Arm_M @ 0,21,101 @ 0.0, -98
Laying_Side_M @ 3,21,101 @ 0.0, -94
Laying_Spoon_M @ 3,21,99 @ 0,0, -94
31. Create a new notecard and call that note setupmultisit, open the notecard and paste setup information that you have in your clipboard
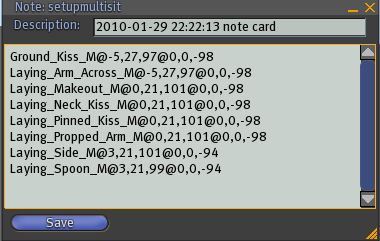
32. Save the notecard setupmultisit you just created and drag it in the inventory of the box
Stage setup and use
1. Open the contents of the box: it contains animations and notecards setupmultisit and setupmultisit 1
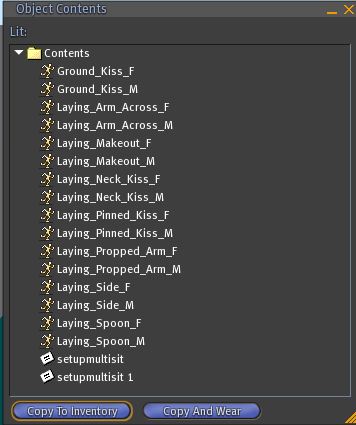
2. Drag the script sitmanager
3. Drag a script multisit : seat initializes
4. Drag a second script multisit : seat initialize and script changes its name for multisit 1
5. Drag 2 scripts adjuster, the second changes its name for adjuster 1
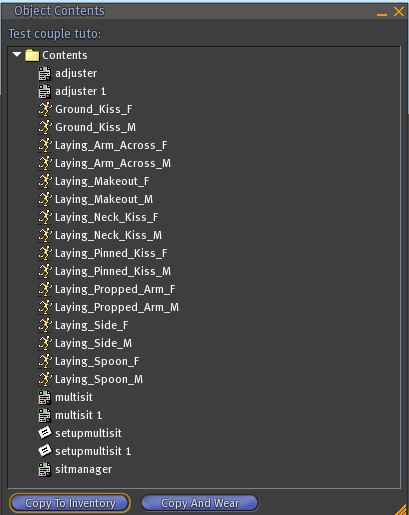
6. the first avatar sits. He has the choice of place
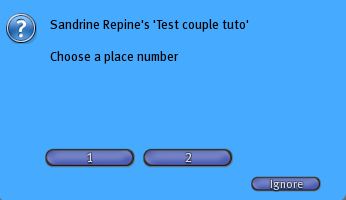
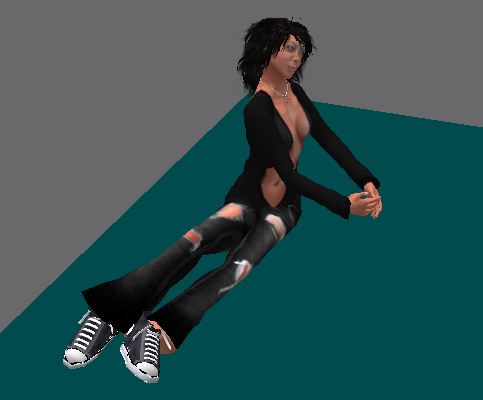
he choses the 1 and takes place the first animation
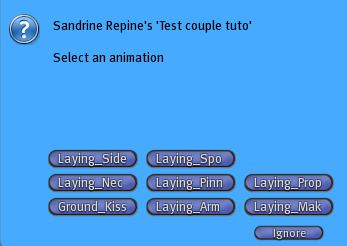
A dialog box is open with a choice of animations
7. the second avatar sits. He has no choice because there is only one seat free now
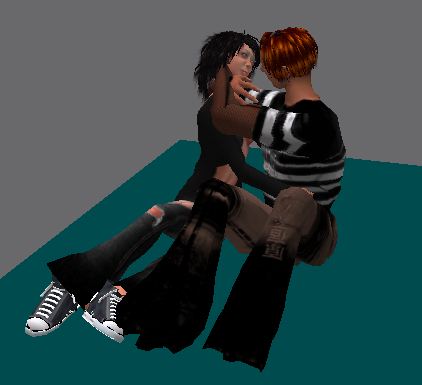
To change animation must click on the bed, it opens the dialog box with a choice of animations.
But we can improve it by synchronizing all the animations !
Configuration of synchronization
1. Create a notecard that you call configmultisit
2. Enter these informations in this note:
@ version
1
@ api
1000
@ synchro
! 1001
Laying_Side_F | Laying_Side_M
Laying_Spoon_F | Laying_Spoon_M
Laying_Propped_Arm_F | Laying_Propped_Arm_M
Laying_Pinned_Kiss_F | Laying_Pinned_Kiss_M
Laying_Neck_Kiss_F | Laying_Neck_Kiss_M
Laying_Arm_Across_F | Laying_Arm_Across_M
Ground_Kiss_F | Ground_Kiss_M
Laying_Makeout_F | Laying_Makeout_M
Save the note and drag it into the inventory box.
3. Create a second notecard configmultisit
4 Enter these informations in this notecard:
@ version
1
@ api
1001
@ synchro
! 1000
Laying_Side_M | Laying_Side_F
Laying_Spoon_M | Laying_Spoon_F
Laying_Propped_Arm_M | Laying_Propped_Arm_F
Laying_Pinned_Kiss_M | Laying_Pinned_Kiss_F
Laying_Neck_Kiss_M | Laying_Neck_Kiss_F
Laying_Arm_Across_M | Laying_Arm_Across_F
Ground_Kiss_M | Ground_Kiss_F
Laying_Makeout_M | Laying_Makeout_F
Save the note and drag it into the inventory box.
Try the bed now. Nothing has changed in the functionality of two avatars except that now animations are synchronized! When one of two avatars change animation the other chnage also its animation.
To further improve our bed should make reading animations names easier in dialog boxes.
Configuring Alias
1. Open note configmultisit located in the inventory of the box and replace the previous content for the following:
@ version
2
@ api
1000
@ synchro
! 1001
Laying_Side_F | Laying_Side_M
Laying_Spoon_F | Laying_Spoon_M
Laying_Propped_Arm_F | Laying_Propped_Arm_M
Laying_Pinned_Kiss_F | Laying_Pinned_Kiss_M
Laying_Neck_Kiss_F | Laying_Neck_Kiss_M
Laying_Arm_Across_F | Laying_Arm_Across_M
Ground_Kiss_F | Ground_Kiss_M
Laying_Makeout_F | Laying_Makeout_M
@ alias
Laying_Side_F | Side
Laying_Spoon_F | Spoon
Laying_Propped_Arm_F | Propped
Laying_Pinned_Kiss_F | Pinned Kiss
Laying_Neck_Kiss_F | Neck Kiss
Laying_Arm_Across_F | Arm Across
Ground_Kiss_F | Ground Kiss
Laying_Makeout_F | Makeout
Save the note.
2.Open note configmultisit 1 located in the inventory of the box and replace the previous content for the following:
@ version
2
@ api
1001
@ synchro
! 1000
Laying_Side_M | Laying_Side_F
Laying_Spoon_M | Laying_Spoon_F
Laying_Propped_Arm_M | Laying_Propped_Arm_F
Laying_Pinned_Kiss_M | Laying_Pinned_Kiss_F
Laying_Neck_Kiss_M | Laying_Neck_Kiss_F
Laying_Arm_Across_M | Laying_Arm_Across_F
Ground_Kiss_M | Ground_Kiss_F
Laying_Makeout_M | Laying_Makeout_F
@ alias
Laying_Side_M | Side
Laying_Spoon_M | Spoon
Laying_Propped_Arm_M | Propped
Laying_Pinned_Kiss_M | Pinned Kiss
Laying_Neck_Kiss_M | Neck Kiss
Laying_Arm_Across_M | Arm Across
Ground_Kiss_M | Ground Kiss
Laying_Makeout_M | Makeout
Save the note.
Try again in bed. This time the names of the poses in the dialog boxes are shorter and explicit.
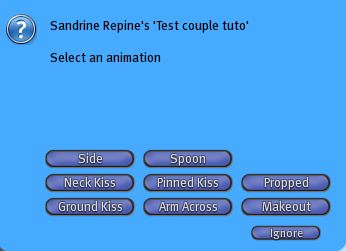
But it would be nice if we could also classify the animations in groups ...
Creating Groups
1. Open note configmultisit located in the inventory of the box and replace the previous content for the following:
@ version
3
@ Alias
Laying_Side_F | Side
Laying_Spoon_F | Spoon
Laying_Propped_Arm_F | Propped
Laying_Pinned_Kiss_F | Pinned Kiss
Laying_Neck_Kiss_F | Neck Kiss
Laying_Arm_Across_F | Arm Across
Ground_Kiss_F | Ground Kiss
Laying_Makeout_F | Makeout
@ api
1000
@ synchro
! 1001
Laying_Side_F | Laying_Side_M
Laying_Spoon_F | Laying_Spoon_M
Laying_Propped_Arm_F | Laying_Propped_Arm_M
Laying_Pinned_Kiss_F | Laying_Pinned_Kiss_M
Laying_Neck_Kiss_F | Laying_Neck_Kiss_M
Laying_Arm_Across_F | Laying_Arm_Across_M
Ground_Kiss_F | Ground_Kiss_M
Laying_Makeout_F | Laying_Makeout_M
@ group
! Group1
Laying_Side_F
Laying_Spoon_F
Laying_Propped_Arm_F
! group2
Laying_Pinned_Kiss_F
Laying_Neck_Kiss_F
Laying_Arm_Across_F
Ground_Kiss_F
Laying_Makeout_F
Save the note.
2. Open note configmultisit 1 located in the inventory of the box and replace the previous content for the following:
@ version
3
/ / @ Mode
1
@ alias
Laying_Side_M | Side
Laying_Spoon_M | Spoon
Laying_Propped_Arm_M | Propped
Laying_Pinned_Kiss_M | Pinned Kiss
Laying_Neck_Kiss_M | Neck Kiss
Laying_Arm_Across_M | Arm Across
Ground_Kiss_M | Ground Kiss
Laying_Makeout_M | Makeout
@ api
1001
@ synchro
! 1000
Laying_Side_M | Laying_Side_F
Laying_Spoon_M | Laying_Spoon_F
Laying_Propped_Arm_M | Laying_Propped_Arm_F
Laying_Pinned_Kiss_M | Laying_Pinned_Kiss_F
Laying_Neck_Kiss_M | Laying_Neck_Kiss_F
Laying_Arm_Across_M | Laying_Arm_Across_F
Ground_Kiss_M | Ground_Kiss_F
Laying_Makeout_M | Laying_Makeout_F
@ group
! Group1
Laying_Makeout_M
Laying_Side_M
Laying_Spoon_M
Laying_Propped_Arm_M
! group2
Laying_Pinned_Kiss_M
Laying_Neck_Kiss_M
Laying_Arm_Across_M
Ground_Kiss_M
Save the note
Try again in bed. Now the dialog boxes have changed. The poses are classified into groups.
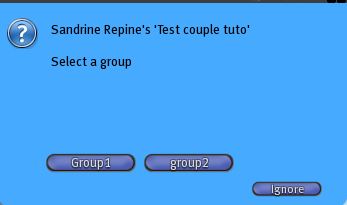
But there is perhaps something that could be improved. It would be nice if the dialog boxes were persistent.
Changing the operating mode
1. Open note configmultisit located in the inventory of the box and replace the version parameter and add the mode:
@ version
4
@ mode
1
2. Do the same thing with the note configmultisit 1
Now the dialog boxes are persistent. There are many other modes that you find in other sections of these tutorials.
To further improve our bed would be nice if the choice of seats was done with more explicit names ...
Configutation of sitmanager
1 Create a note that you call configManager. Put this information in:
@ version
1
@ mode
2
@ words
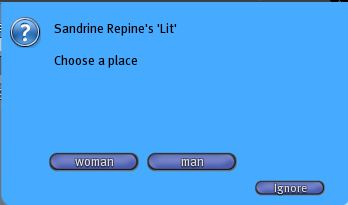
woman
man
Save the note and put it in the inventory of the box.
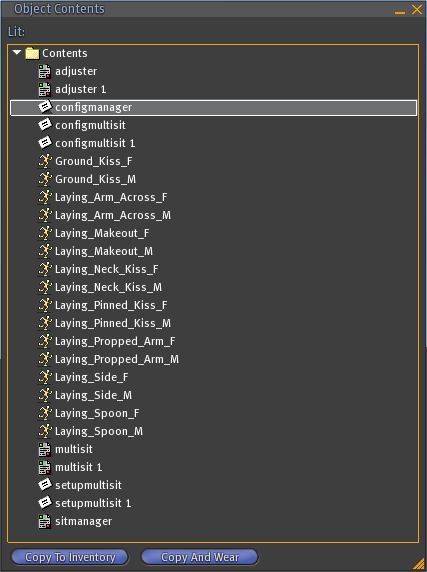
Now the names of buttons are more explicit :