How to create a setup ?

- Details
- Parent Category: Simple Sit
- Created on Sunday, 07 February 2010 16:04
- Last Updated on Wednesday, 11 September 2013 14:40
- Published on Sunday, 07 February 2010 16:04
- Written by sandrine
- Hits: 817
For each animation the avatar must have a position and a well-defined rotation. The first step is to define these parameters. To do this you need two elements:
- the setup script
- item setball
A setup can be done on an empty seat or a seat already functional. It operates independently of existing scripts and even a setup done in parallel. Besides, it is useful to perform parallel setup to adjust the animations for a couple or a group.
The only condition for a setup is to have animations in the inventory. Otherwise there is nothing to adjust !
Now see how ...
- Drag the script setup in the sit inventory
- Drag the object setball in the inventory : a ball is created on top of the sit
Take care the object setball must be put in the content, not directly rezzed !!!
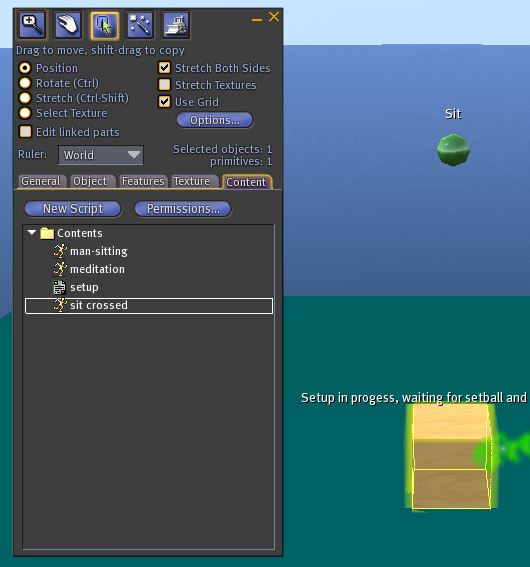
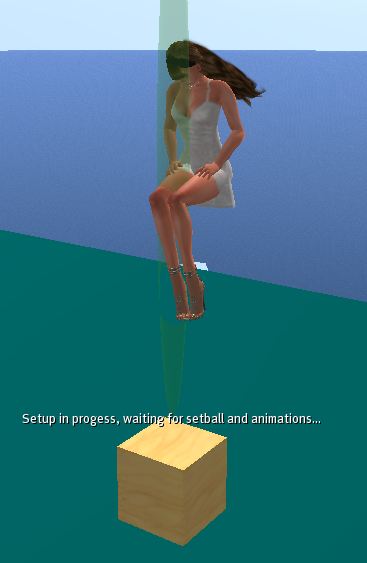
- click the ball : you are now seated and the ball deforms to be more accessible
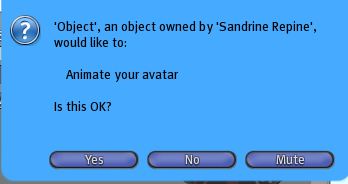
- accept authorization animation
You get a dialog box :
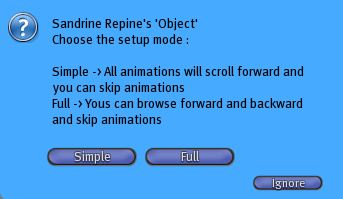
Let us pause a moment to explain these two possibilities. The first is the simplest. We can scroll through all the animation one after the other with the possibility to skip some. Indeed we are not obliged to use all the animations for each location. But with this option is not possible to go back. What interest back ? It may be interesting if you are a setup for a couple or group, in which case you need to navigate to select the good animations. In the latter case we must use the second option.
- right click on the ball and switch to edit mode
- adjust position and rotation
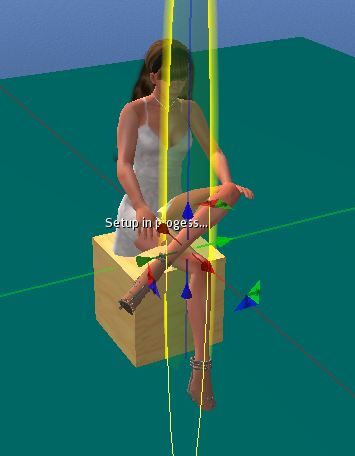
- click « done » from the dialog box
- get the next animation and adjust it and so on for all animations
How it ends there? If you chosed the option "simple" the avatar is ejected automatically to the end and the ball disappears. If you chose the option "full" should click on the button "End" with the same effect. So you get a new dialog box :
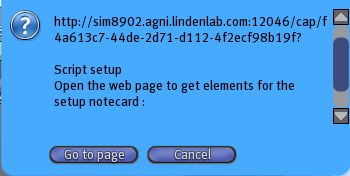
It is easier to retrieve parameters on a web page in the crowded chat messages. Just click on the button "Go to page" to open the web page with the parameters :
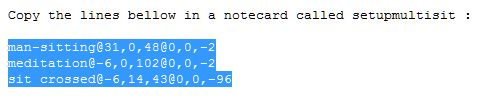
- in your inventory create a new notecard and call that note setupmultisit
- open the notecard and paste the information that you have in the clipboard, save the note.
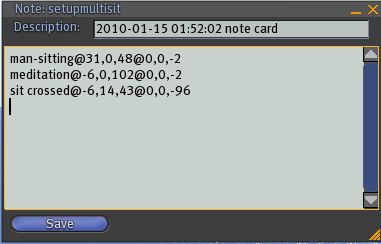
You have arrived at the end of the setup. You now have a note that contains the settings for a location. As you will probably manage multiple locations and that the notes all have the same name I advise you to arrange for classes in your inventory, such as creating folders.
When you drag these notes in your inventory to create the first setupmultisit continue to call setupmultisit, but the second one will automatically index setupmultisit 1 and the following setupmultisit 2 ... That is how they will be distinguished. You can already give them an index in your inventory, but be careful, one mistake is quickly arriving. Look at this inventory with 2 notes setupmultisit :
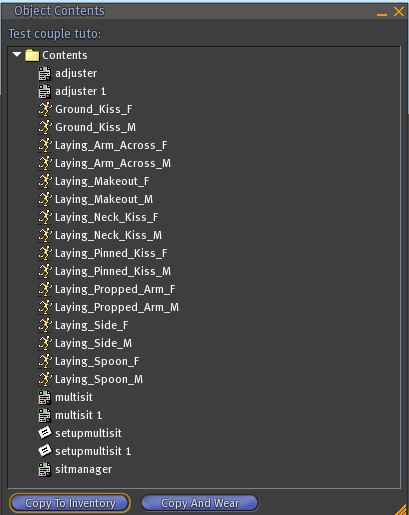
Note setupmultisit is recognized and read by the script multisit and note setupmultisit 1 is recognized and read by the script multisit 1. This would be the same with a third note setupmultisit 2 and so on ...